
November 05, 2026

Written by:
Greg Schubert
A digital intraoral scan is only as good as the technique behind it. A rushed or incomplete scan means missing margins, distorted contacts, and a restoration that doesn't fit the way it should, which usually means a call to your lab before the case can even start. A careful, consistent scan can mean faster turnaround, fewer remakes, and better communication with the lab fabricating your case.
In this guide, we'll cover how an intraoral scanner actually works, how to capture a consistently accurate intraoral scan, and a few common mistakes worth avoiding along the way.
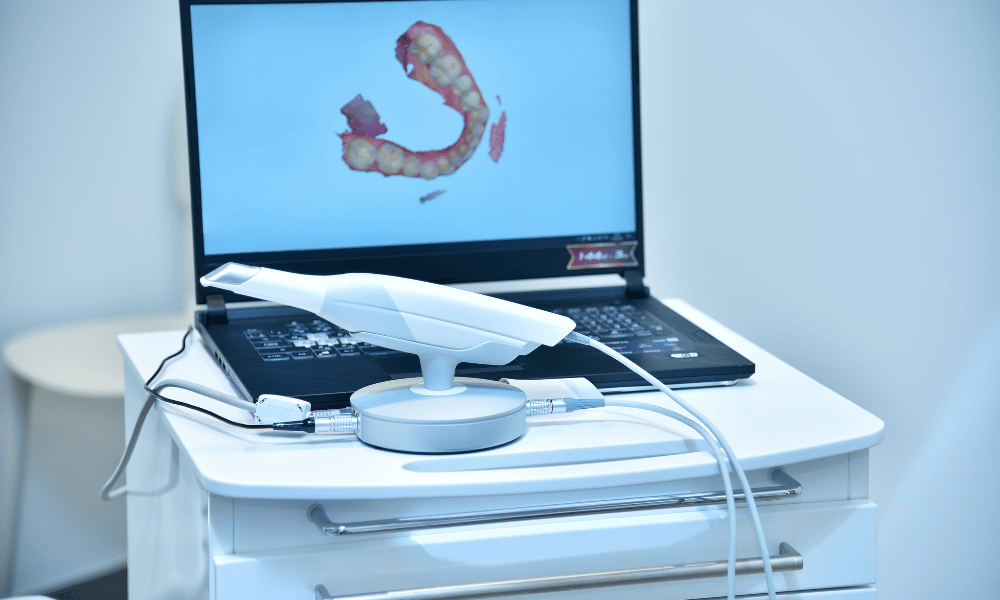
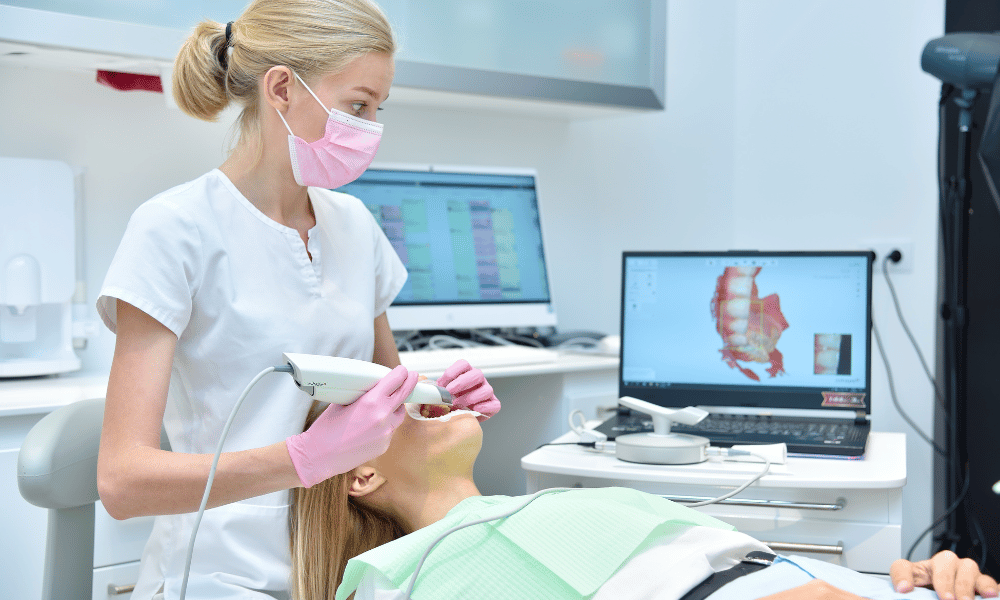
An intraoral dental scanner uses a handheld wand to project light onto the teeth and surrounding tissue, capturing thousands of data points as it moves. That data gets stitched together in real time into a 3D digital model you can view right on screen as you scan.
Here's the part that matters most for your lab: whatever gets captured on screen is exactly what your lab receives. There's no physical impression to double-check or re-pour later. If a margin didn't get captured clearly, or an area got missed, that gap travels straight into the file your technician is working from.
If you're still deciding which scanner is the right fit for your practice, our guide to choosing an intraoral scanner breaks down what to look for.
To get a usable digital intraoral scan, you’ll need to follow a consistent process every time so that you capture complete, accurate data on the first pass instead of rescanning later. Here's how to approach it step by step.
Before you even pick up the wand, set yourself up for a clean scan:
A few extra seconds of setup here saves a lot of time later. Good prep is the foundation of any reliable intraoral scanning technique.
Jumping around the arch, or constantly changing angles, is one of the fastest ways to end up with a scan full of gaps and stitching errors. Instead:
Knowing how to use intraoral scanner technology well comes down to repetition. Once you settle on a scanning path that works, stick with it for every case.
This is where most clinically significant scan errors happen. Make sure your scan clearly captures:
Incomplete data here doesn't just slow your lab down. It can require additional scans or clarification before your technician can move forward, potentially delaying the case.
Occlusal information matters just as much as the prep itself. Before you close out the scan:
A bite that looks "close enough" on screen can translate into real occlusal discrepancies once the restoration is seated. Take the extra few seconds to confirm it.
Before you hit submit, do a final pass over the model:
Catching an issue here takes a minute. Catching it after the case has already started at the lab costs you a lot more.

A few quick habits that make a noticeable difference over time:
These tips may seem simple, but they're the difference between a scan your lab can work with immediately and one that needs a follow-up call. For more guidance on choosing the right equipment to support these habits, take a look at our guide to the best intraoral scanners.
Even experienced teams fall into these patterns. Here's what to watch for:
Every one of these issues ties back to the same thing: the quality of the information your lab receives. A clean digital intraoral scan sets your case up for success before it ever reaches a technician's desk.
Technique matters, but so does who's on the other end of that scan. Good lab communication means your technician can flag a potential issue before it becomes a problem, instead of after the restoration is already milled.
If your practice is considering making the switch to digital, or upgrading your current setup, PRO-Craft's Free iTero Digital Scanner Program is worth a look. Qualifying practices get a 30-day, no-obligation trial, free training, and ongoing support, so you can get comfortable with a quality intraoral dental scanner before committing to anything.
A consistently accurate digital intraoral scan comes down to a few fundamentals: proper preparation, a consistent scanning technique, complete data capture, and a final review before you submit. None of these steps take much extra time, but skipping any one of them can turn a quick scan into a delayed case or an avoidable remake.
Want more resources to help tighten up your digital workflow? Download PRO-Craft's Free Dental Practice Starter Kit for practical tools built to support smoother case submissions and a more predictable restorative process.

When captured correctly, digital intraoral scan technology can produce highly accurate 3D models that may offer accuracy comparable to traditional impressions, depending on the clinical application. Accuracy depends heavily on technique, including moisture control, scanning path, and complete margin capture, so the scanner itself is only part of the equation.
The best intraoral scanning technique follows a consistent, deliberate path across the arch, captures ample overlapping data, and prioritizes margins, proximal areas, and bite registration before finishing. Rushing through a scan is one of the most common ways accuracy breaks down.
Before submitting, review the scan for missing or thin data, confirm margins are fully and clearly captured, check for stitching errors, and verify the bite registration looks accurate on screen. A quick review before submission can prevent a delayed case or an unnecessary rescan request from your lab.
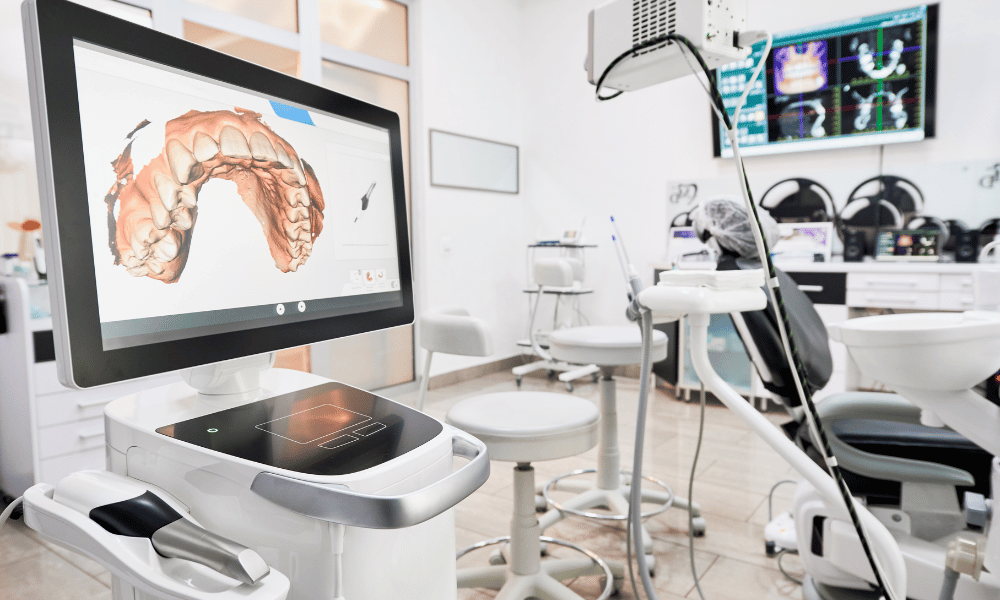
Intraoral scanners have become an important part of digital dentistry, allowing practices to capture detailed digital impressions and send cases directly to dental labs without conventional...
Read More
Troubleshooting Digital Impressions Dec 08, 2021 The top 3 issues with digital impressions and how to troubleshoot them. Troubleshooting Digital Impressions As the use of digital impressions...
Read More
With the development of technology like micro CT scanning, dentistry continues to make technological advancements in the industry. Micro-CT scanning in dentistry is crucial to intelligent...
Read More
As an industry leader in CAD/CAM technology, we have taken the fabrication of digital restorations to a new & exciting level of service.
25791 Jefferson Ave, Murrieta, CA 92562
info@pro-craft.com
877-484-3522