There are multiple factors that can affect the accuracy of an impression. Many can be corrected through trial and error. Your dental laboratory can help you eliminate these issues before they happen. Work closely with your dental lab during case planning to ensure the best fit and results for your patient.
To help increase your chances of getting a great dental impression the first time, check out these tips.
14 Tips for a Perfect Impression
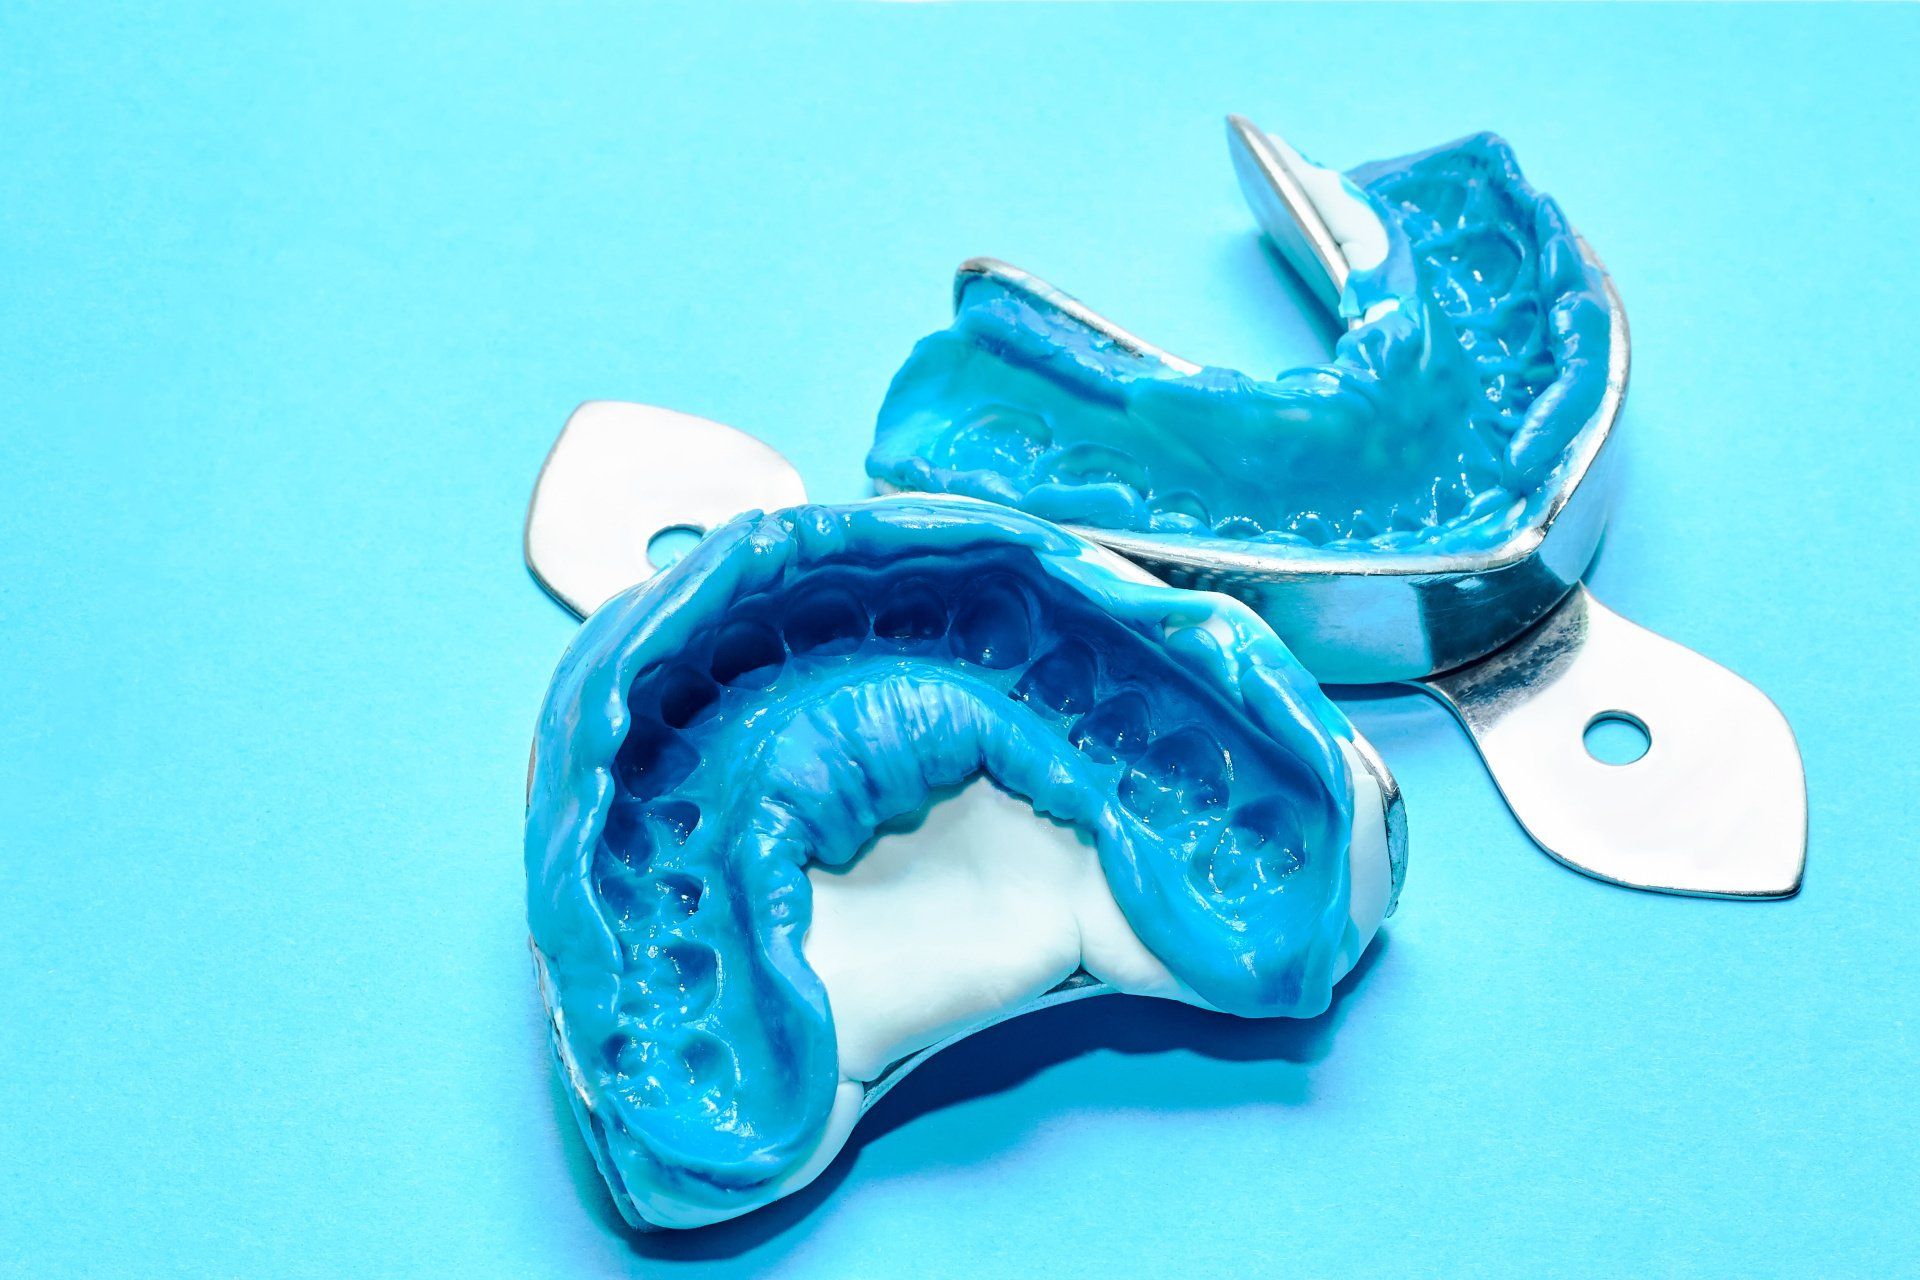
TIP 1: Use a metal tray for the impression. If the tray can be easily flexed with finger pressure, the impression material will likely flex during setting and yield a distorted impression. When your patient bites down on a plastic tray, the plastic flexes out, then when it is taken out it rebounds, changing the impression. Using a metal tray reduces the risk of rebounding and changes in the final impression.
TIP 2: Use a custom metal tray for patients that do not fit a standard tray. In some cases, your patients mouth may be too large for a standard metal tray. If so, or if other conditions exist, request a custom tray from your lab.
TIP 3: Use tray adhesive on all impression trays, even for those with perforations. If the tray doesn’t have adhesive there is a danger the impression material can be pulled away or dislodged from the tray causing imperfection or inaccuracy.
TIP 4: Using fast set for your crown and bridge impressions is NOT recommended. When fast set is used, it’s more susceptible to distortion. Operatory technique and room temperature can greatly affect fast set material.
TIP 5: Be aware of the effects of sulfur compounds on latex gloves. A suggested alternative would be the use of vinyl gloves.
TIP 6: Time all dental impressions based on the manufacturers suggested time, plus one minute. This extra minute helps prevent tearing of the margins during removal.
TIP 7: Do not have your patient hold the impression. The patient may not understand the importance of not moving or adjusting the impression while it’s setting. Operatory assistant should always be involved to guarantee proper fit and accuracy.
TIP 8: Do not disinfect the impressions before sending to the lab. Impressions will be disinfected when they arrive at the lab.
TIP 9: Check the expiration date of the impression material. Not doing so may have adverse effects on the accuracy of the impression
TIP 10: Keep mix tip of the impression material submerged in the material while filling the tray. Not doing so will possibly create bubbles and voids in your impression.
TIP 11: Use a full arch tray when doing extensive posterior bridges and units. When doing posterior restorations with no distal tooth for an occlusal stop, a extra temporary should be made for the most posterior abutment tooth. Adjust the occlusion of the temporary for proper bite. Send an additional bite registration for everything towards the anterior of the last abutment. This will eliminate over clenching or improper occlusion.
TIP 12: Assistant loading tray material should occur at the same time the doctor is injecting. Caution should be taken to not allow your impression material to sit too long. Follow the manufacturer impression material instructions in detail to achieve optimal results.
TIP 13: When working with “gaggers”, use a custom tray with open palate, a quad-tray or lower tray for upper impressions.
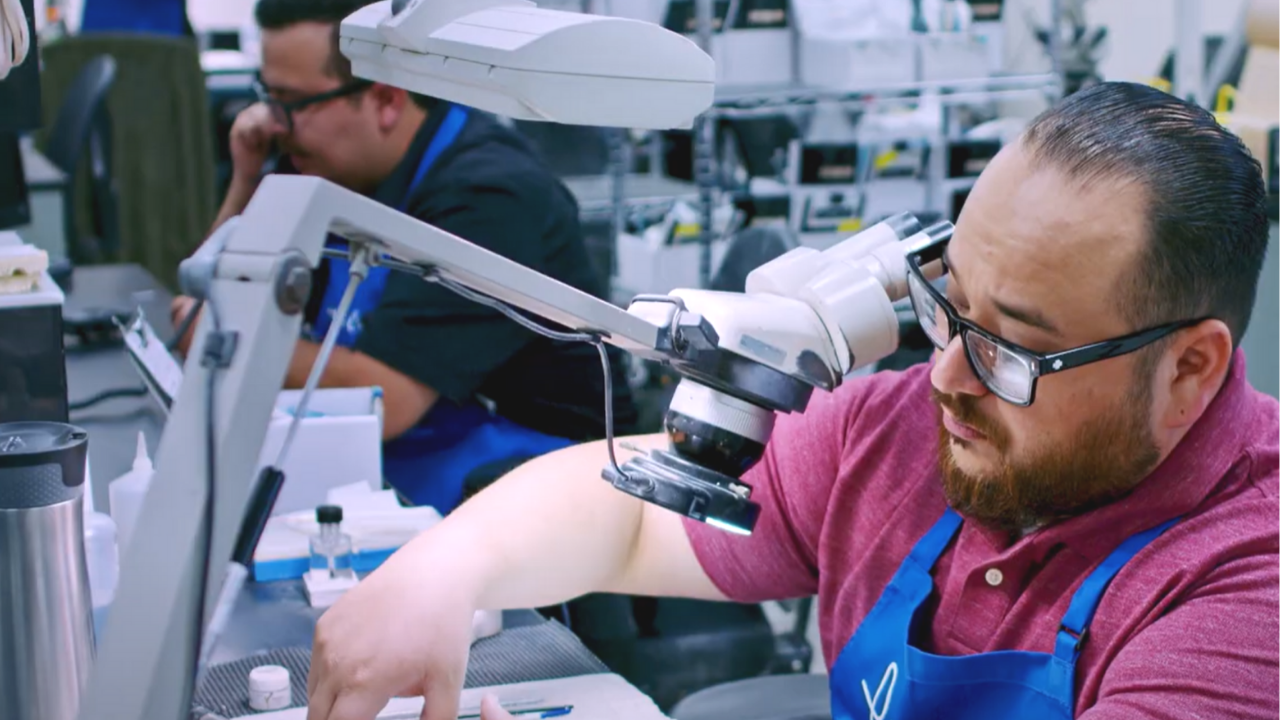
Tip 14: All impressions should be checked with magnification for defects and visible margins. This one step will reduce phone calls from the lab, risk of repeat impressions, and problems with poor fit which can impact your patient’s satisfaction with your work and cause unnecessary delays.
Recommended Dental Impression Materials
Your dental lab has extensive experience working with a wide variety of dental impression materials. At PRO-Craft we track all remakes and adjustments and have found historically Aquasil and Impregum have the least amount of remakes and adjustments.
We also have experience with many different types of trays. The tray we highly recommend is the Quad Tray from Clinicians Choice. Free samples for the quad tray are available at PRO-Craft Dental Laboratory. Talk to your technical associate to learn more about these options.
Impression manufacturers all have different quality control standards and systems within their facilities. Our experience has shown us these two companies are the most consistent and reliable of all the materials that we test and monitor.
Dental Implant Impressions
For Implant cases, we recommend the open tray system for impressions. This system does not require removal of the impression coping to install the analog. Therefore there is less chance for error and improper positioning of the analogs.
Denture Impressions
When taking impressions for full dentures or partials, It is very important to capture all the surrounding tissue areas. A staff member should QC the impression for those extensions before submitting the case to your dental lab.
A Few Final Dental Lab Tips on Dental Impressions
- Never mix manufacture materials. Always use the materials recommended from each manufacturer. Mixing light body and heavy body materials from different manufacturers will result in increased remakes and adjustments.
- When working with your dental laboratory, always request that your lab checks the expansion rate on their die stone monthly. This is done with a special instrument to guarantee accurate fit of your restorations. If the die stone isn’t checked monthly there is increased risk of inconsistent expansion rate.
- All die stone and liquid ratios should be digitally weighed and mixed under vacuum to ensure optimal accuracy and fit.
For questions about a case, call and speak with a master technician today at 877.484.3522 or send us an email at allzplus@pro-craft.com