
April 30, 2017

Written by:
Nicole Donnelly
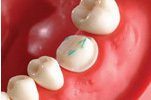
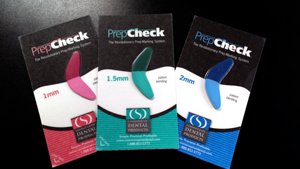
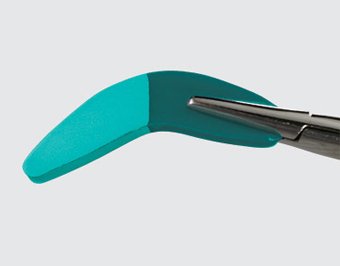 PrepCheck™, the revolutionary prep-marking system, promotes adequate reduction allowing ideal thickness of the final restoration and ensures superior strength and aesthetics. PrepCheck’s™ special coating marks the tooth in areas that need to be reduced.
HOW TO USE PREPCHECK™
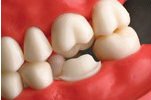 Insert the darker side of the PrepCheck™ tab between the preparation and the opposing dentition. Pull or tug on the PrepCheck ™ tab. The PrepCheck ™ should slide out with very little resistance. If it does not, proceed to step 2. (If the tab cannot be removed or is difficult to remove, adequate reduction has not been achieved.)
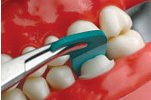
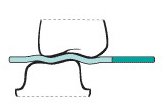 Insert the lighter side of the PrepCheck™ between the preparation and the opposing dentition.
Note: The lighter side contains the powdered marking medium. Ask the patient to tap or grand on the PrepCheck ™.
 Reduce the areas that mark. Go back to step 1 and tug with the uncoated side of PrepCheck ™ between the preparation and opposing dentition.
 “The PrepCheck™ is a great asset to have when prepping teeth, especially the second molars. The occlusal reduction is more accurate and it saves time chairside because you spend less time adjusting the bite. Also, I have reduced calls from the lab asking for more space. PrepCheck’s™ best asset is that it en-sures you have enough thickness in all ceramic and CAD/CAM crowns with no failure due to fracture.”

Titrating The EMA Appliance Jul 10, 2017 The EMA oral appliance from Myerson increases airway space by advancing the mandible using interchangeable elastic straps. EMA elastic straps come in 9...
Read More
Guide to Choosing a Dental Laboratory Nicole Donnelly • Jan 04, 2022 Finding a dental laboratory that can provide consistent quality can be challenging. These 10 fundamentals will help you understand...
Read More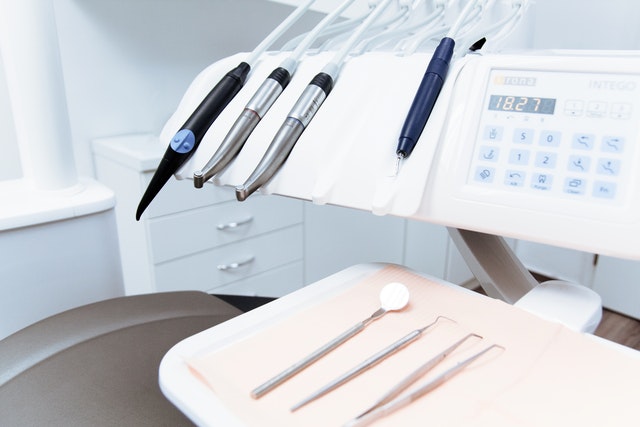
Reduce Occlusal Adjustments With The Exact Occlusal Bite Technique Apr 29, 2017 (For cases with no distal stop) We see many different bite techniques here at Pro-Craft. We have seen what works and...
Read More
As an industry leader in CAD/CAM technology, we have taken the fabrication of digital restorations to a new & exciting level of service.
25791 Jefferson Ave, Murrieta, CA 92562
info@pro-craft.com
877-484-3522